Are you experiencing issues with your Lorex security cameras? Are they not capturing clear footage or failing to connect to your mobile device? Don’t worry, you’re not alone. Many Lorex camera users encounter troubleshooting problems at some point, and understanding how to resolve these issues is essential for maintaining the security of your home or business.
This article will explore common problems Lorex camera users face and provide step-by-step solutions to help you troubleshoot and resolve these issues. Whether you’re dealing with connectivity problems, blurry or distorted footage, or camera malfunctions, we’ve got you covered. By following our troubleshooting tips, you can ensure that your Lorex security cameras are operating smoothly and effectively.
So, if you want to regain confidence in your Lorex camera system and address any technical difficulties you may be experiencing, keep reading. We’ll equip you with the knowledge and solutions you need to get your security cameras back on track and provide the high-quality surveillance you rely on.
Here are 10 Lorex Camera Troubleshooting
| Issue | Solution |
|---|---|
| 1. Lorex Camera Keeps Going Offline | Ensure the audio function is enabled in camera settings. – Check the volume on the viewing device. |
| 2. Fixing offline Lorex camera with direct connection | Ensure the audio function is enabled in the camera settings. – Check the volume on the viewing device. |
| 3. Restore IP Camera | Connect the camera to NVR via Ethernet. – Press and hold the reset button for 10 seconds while disconnecting and reconnecting the Ethernet cable. – Reconfigure settings and apply updates. |
| 4. Picture Quality Issues | Clean the camera lens. – Remove any protective vinyl cover. |
| 5. No Audio | Ensure the audio function is enabled in the camera settings. – Check the volume on the viewing device. |
| 6. Person Detection Troubleshooting | Enable Person Detection in the Lorex Home app. |
| 7. W281AA / W282CA Series Camera Notifications | Manage notifications: Turn off all notifications to enable/disable motion detection, person detection, or vehicle detection as needed. |
| 8. No picture from some cameras | Identify power supply issues. – Inspect the wall wart (power adapter) for damage. – Consider ESR testing on capacitors. – Seek technical support if necessary. |
| 9. Change or Reset the Password | Retrieve Device ID. – Contact technical support for a temporary password. – Log in using temporary password and change/reset the password in system settings. |
| 10. Motion Detection Issue | Retrieve Device ID. – Contact technical support for a temporary password. – Log in using a temporary password and change/reset the password in system settings. |
1. Lorex Camera Keeps Going Offline
If your Lorex camera is displaying as “offline” on your NVR, it might be because the cam has been disconnected from its power source or moving out of the range of your NVR. On the other hand, it could be an internal problem with the NVR settings. The best way to fix this is to restore the NVR system to its original factory settings if necessary. This can usually be done by navigating through the menus on the device.
Suppose there is an actual issue with a connection, such as a wire or coaxial cable coming out of the camera. In that case, you may need to check it for any signs of damage or disconnection and file away any rough edges that may have caused an interruption in service.
In some cases, restarting both devices will also do the trick and will get them up and running again shortly. If none of these solutions lead anywhere, you may need to repair or replace both devices or seek help from technical support personnel experienced in dealing with Lorex cameras and their associated components.
2. Fixing offline Lorex camera with direct connection
If your Lorex camera is connected to an NVR and appears offline, it could be a port issue. To troubleshoot this, try switching the ports of an offline camera with an online one. If the ports are causing the problem, you may see that the offline camera displays itself as online when plugged into another port. Meanwhile, the online cam should become offline on the other port.
For LHV/LNR Series DVR/NVR models, to restore your NVR settings, access the “Quick Menu” and select the “Main Menu” by clicking on its Setting Icon. Then select “Setting” and afterward click “Default”. Check which menus you want to reset back to their original settings, click “Apply” to save changes, and press “OK” to leave this menu. Doing this should bring your Lorex camera back online, thereby fixing your connectivity issue.
Related Post: Lorex App Not Working
3. Restore IP Camera
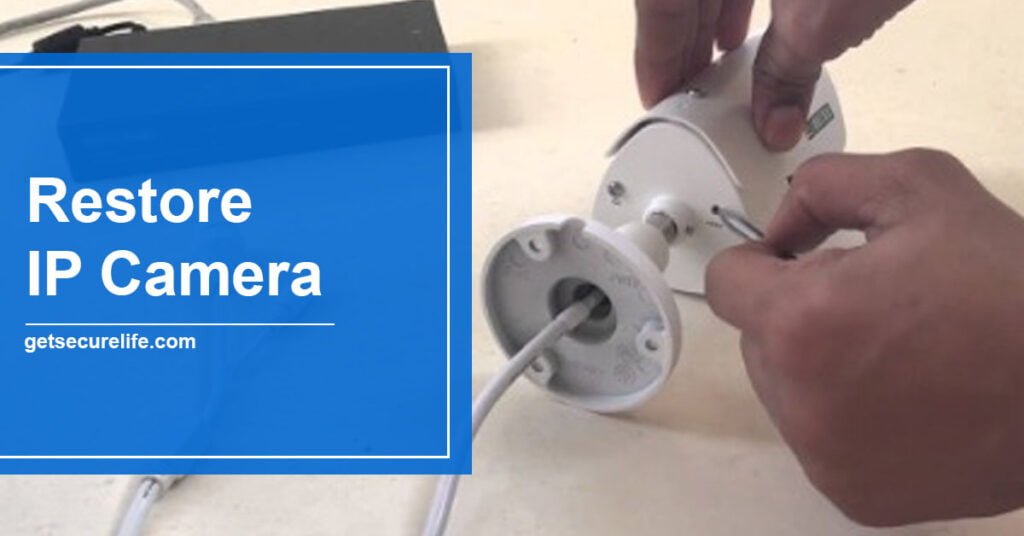
Restoring an IP camera to default settings is a relatively simple task and can be done with a few easy steps. The first step is ensuring the camera is properly connected to an NVR via an Ethernet cable. After ensuring this, press and hold the reset button, typically located at the base or back of the camera, for about 10 seconds. During this time, make sure to disconnect and reconnect the Ethernet cable. This will cause your camera to reset its settings back to its original defaults; then it should restart itself.
After completion of this process, your IP camera should start working normally. However, since it has been restored to factory settings, you must reconfigure some system parts accordingly. This includes setting up custom preferences such as user accounts, network access protocols, and other customization options.
You may also want to install any necessary software updates onto your device for continued use. Thankfully, doing so is quite straightforward through common admin applications found online or from retail stores catering to cameras like these.
4. Picture Quality Issues
- Clear Lens: If the picture is not clear, inspect the camera lens for dirt, dust, or spiderwebs. Clean the lens gently using a soft, clean cloth.
- Remove Vinyl Cover: Ensure you have removed any vinyl cover or protective film from the camera lens, as it may obstruct the view.
5. No Audio
- Enable Audio on Camera: Check that the audio function on the camera is turned on in the camera settings.
- Volume on Viewing Device: Confirm that the audio volume on your viewing device (mobile phone or computer) is turned up and not muted.
6. Person Detection Troubleshooting
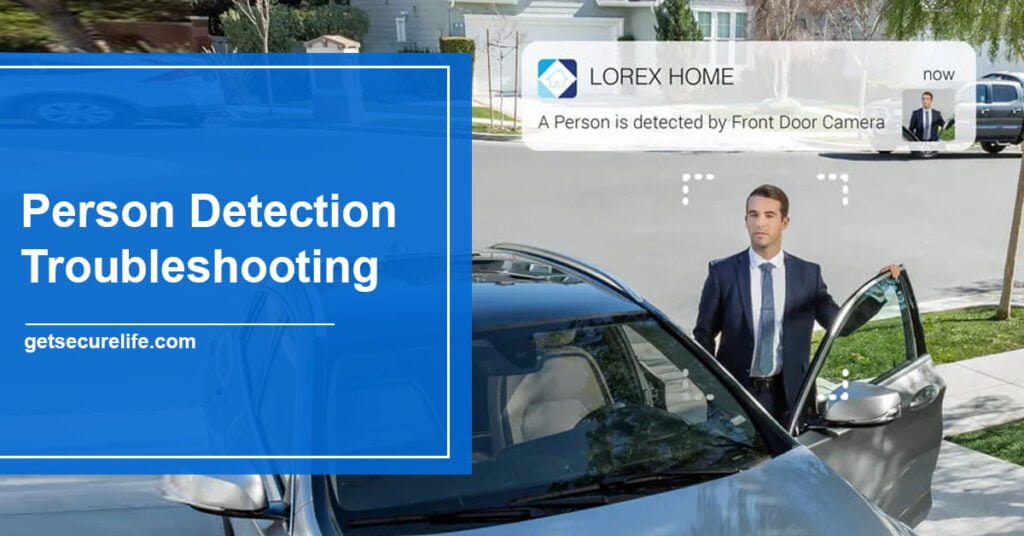
To enable Person Detection, follow these steps:
- Launch the Lorex Home app.
- Tap “Settings.”
- Go to “Detection Settings.”
- Turn on “Motion Detection.”
- Turn on “Person Detection.”
7. W281AA / W282CA Series Camera Notifications
Too Many Notifications: To manage notifications, follow these steps:
- Turn Off All Notifications: Open the Lorex Home app, go to Settings, then Notifications, and toggle the Notification button to Off to disable all notifications.
- Enable or Disable Motion Detection: Adjust motion detection settings by going to Settings, Detection Settings, and toggle the Motion Detection button to your preference (left for Off, right for On) to control all motion detections.
- Enable or Disable Person Detection: Customize Person Detection by going to Settings, Detection Settings, turning on Motion Detection, and then tap Smart Detection to toggle the Person Detection button On or Off.
- Enable or Disable Vehicle Detection: For Vehicle Detection, navigate to Settings, Detection Settings, turn on Motion Detection, and tap Smart Detection to toggle the Vehicle Detection button On or Off.
By following these troubleshooting steps, you can resolve common issues and optimize the performance of your Lorex camera.
8. No picture from some cameras
Identifying Power Supply Issue: You suspected a power supply problem, especially since multiple cameras were affected. You noted that all the problematic cameras were connected to a single power supply.
Examining the Wall Wart: You then decided to inspect the wall wart (power adapter) for powering these cameras. You noticed that the adapter was physically damaged and showed signs of deformation.
Determining the Cause: Upon closer examination, you speculated that the deformation of the capacitor within the power adapter might have been caused by the power wires squeezing against it. This could have been either an installation or manufacturing issue.
ESR Testing: You conducted an equivalent series resistance (ESR) test on the capacitors. While one capacitor showed signs of damage, the other appeared to be in good condition.
Disassembly and Inspection: You disassembled the power adapter to examine the damaged capacitor more closely. You found that the capacitor was severely deformed, possibly due to pressure from the power wires.
9. Change or Reset the Password
You can find the Device ID in several ways: On the side panel of your recorder, along with the QR Code for the Device ID. Right-click within your recorder’s system interface, then click “Info.” In the Lorex Cloud app, navigate to Settings > Device Info.
After receiving the temporary password from technical support, follow these steps to change or reset your recorder’s account password:
- Log in to your recorder using the system username (default: admin) and the temporary password.
- Right-click on the interface and select “Main Menu.”
- Navigate to Settings > System > Account > User.
- Under the admin username, click the pencil icon to modify the settings.
- Configure the following settings:
- Modify Password: Check this option to change or reset the password for the system.
- Old Password: Enter the temporary password.
- New Password: Set your new, secure password. Ensure it is a minimum of 8 characters and includes at least 2 of the following character types: lowercase, uppercase, numeric, and special characters.
- Confirm Password: Re-enter your new password.
- Click “OK” to save your changes.
10. Motion Detection Issue
To configure motion detection settings for your Wi-Fi camera using the Lorex Home app, follow these steps:
Launch the Lorex Home app.
From the Devices tab (which is the default screen when you open Lorex Home), find and tap on the Settings Icon next to your Wi-Fi camera. This will grant you access to the device-specific settings.
In the device settings, tap on Detection Settings.
Within the Detection Settings, you can customize various options:
- Motion Detection: Tap to enable or disable motion detection for your camera.
- Person Detection: Tap to enable or disable person detection. When enabled, motion notifications will specify when a person is detected.
- Vehicle Detection: Tap to enable or disable vehicle detection. When enabled, motion notifications will indicate when a vehicle has been detected.
- Motion Sensitivity: Adjust the sensitivity level for motion detection. As needed, you can set it from 1 (the lowest sensitivity) to higher values.
Frequently Asked Questions
Conclusion
Troubleshooting your Lorex camera requires understanding the device-specific settings and configurations. If you have trouble connecting your Wi-Fi camera, resetting it to its default settings or updating the firmware may help fix the issue. Similarly, if motion detection is not working properly, verify that the motion settings are configured correctly and there are no obstructions in the field of view.