
When safeguarding your home, a reliable security camera is a must-have. But what if we told you you can combine impeccable surveillance with powerful illumination? Enter the Eufy Floodlight Camera – a cutting-edge solution that watches your property and lights up the night with its advanced features.
In this comprehensive guide, we’ll walk you through the step-by-step process of installing the Eufy Floodlight Camera. Whether you’re a tech enthusiast or a DIY novice, our easy-to-follow instructions and expert tips will fortify your home quickly. Discover how to brighten your security strategy and gain unparalleled peace of mind with this remarkable device. Let’s shed light on your home security like never before.
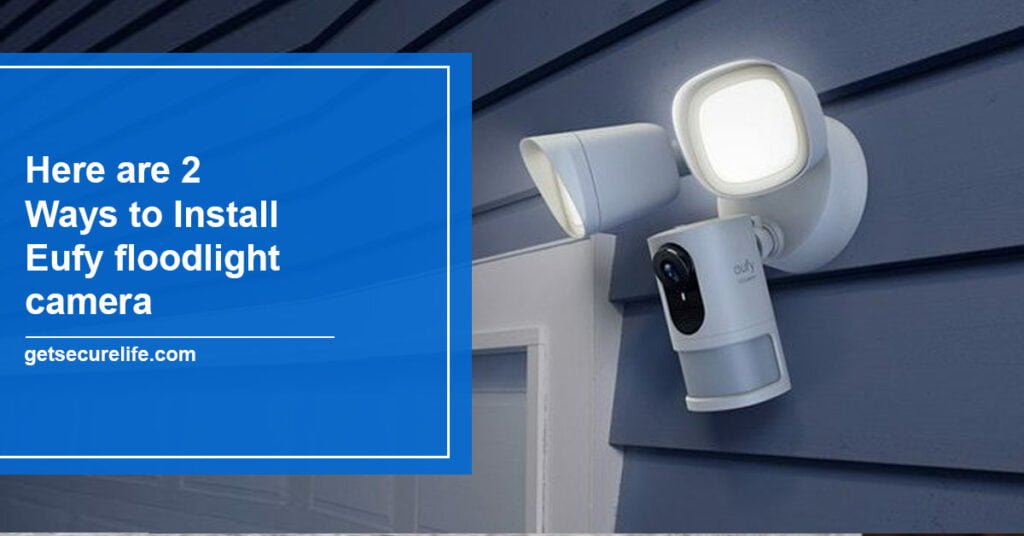
Here are 2 Ways to Install Eufy floodlight camera
What You’ll Need
| Items Needed | Purpose |
|---|---|
| Eufy Floodlight Cam | The main camera unit |
| Included Mounting Bracket | To securely attach the camera |
| Phillips Head Screwdriver | For screw installation |
| Level | Ensures accurate positioning |
| Tape Measure | Measures distances accurately |
| Pencil | Marks locations for installation |
| Ladder (optional) | Provides height access if needed |
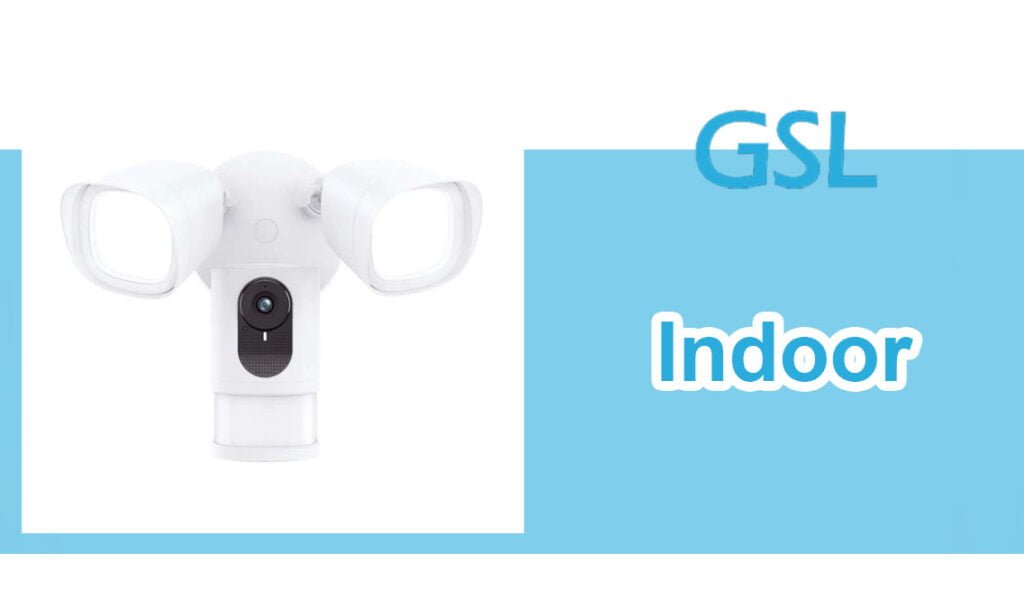
Step 1: Unboxing and Preparation
- Carefully unbox your Eufy Floodlight Camera and ensure you have all the components: the camera unit, the 3-pronged power cable, and any included accessories.
Step 2: Finding the Ideal Location
- Choose the best indoor location for your camera, considering optimal coverage and accessibility to power outlets. Remember, testing the camera’s functionality before mounting is essential.
Step 3: Powering Up
- Plug the 3-pronged power cable into your camera unit and the other end into a standard home outlet. Ensure a secure connection to prevent any power interruptions.
Step 4: Connecting to the Eufy Security App
- Download the Eufy Security app on your smartphone or tablet from your device’s app store.
- Open the app and create an account if you already have one. Log in to the app if you have an existing account.
Step 5: Adding Your Camera
- In the app, tap the ‘+’ symbol or the ‘Add Device’ option to begin adding your camera.
- Choose ‘Eufy Floodlight Camera’ from the list of available devices.
Step 6: Connecting to WiFi
- Follow the on-screen prompts to connect your camera to your WiFi network. Make sure your device is connected to the same WiFi network you want your camera to be on.
Step 7: Camera Setup
- Once connected to WiFi, the app will guide you through the camera setup process. This may involve giving your camera a name, selecting preferences, and setting up any additional features.
Step 8: Testing and Configuration
- Before mounting the camera, perform a quick test by accessing the live camera feed through the app. Make sure the camera’s view is as desired and that it’s recording properly.
Step 9: Mounting (Optional)
- If you’re satisfied with the camera’s performance, you can now mount it to your preferred indoor wall location using the included mounting hardware.
Step 10: Finalizing Setup
- After mounting, do a final check to ensure the camera’s position and angle offer the best coverage.
- Your Eufy Floodlight Camera is now successfully set up and ready to provide enhanced indoor security.
Pro Tips: If you encounter connectivity issues during setup, ensure your WiFi signal is strong and stable in the chosen camera location. Keep your app and camera firmware updated for the latest features and security enhancements.
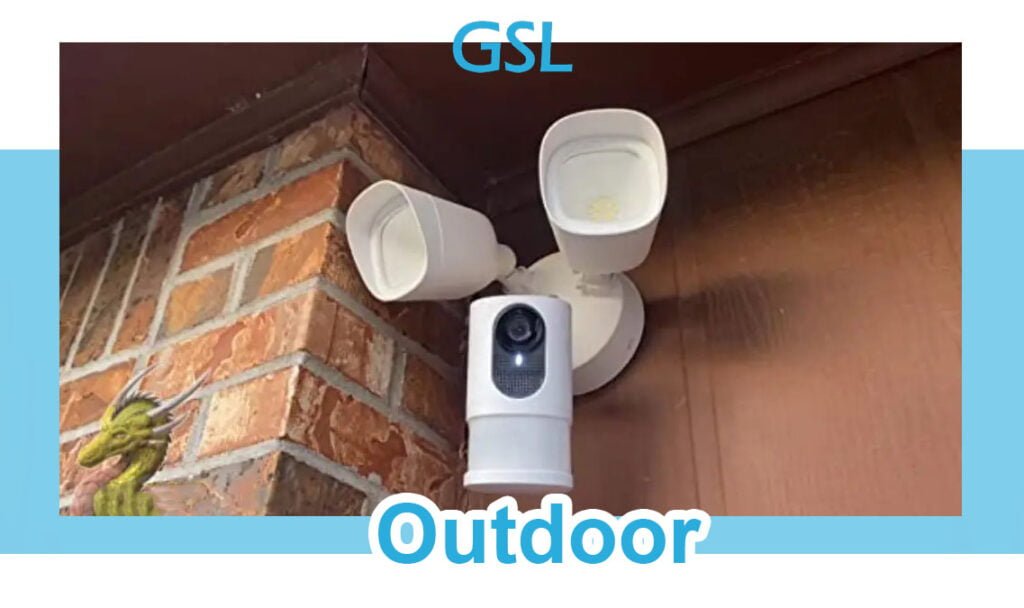
Outdoor installation of the Eufy Floodlight Camera requires some electrical knowledge and safety precautions. Make sure you’re comfortable working with electrical wiring before proceeding. If in doubt, consult a professional electrician to ensure a safe installation.
Step 1: Safety Precautions
- Before starting, ensure that the power to the Eufy Floodlight Camera’s intended location is turned off at the fuse box or breaker box to prevent any risk of electrical shock.
Step 2: Junction Box Setup
- Ensure you have a suitable electrical junction box installed outside your house at the chosen camera location. If not, consult a qualified professional to install one.
Step 3: Preparing the Eufy Floodlight Camera
- Remove the 3-pronged power cable from the camera unit by unscrewing the wire nuts that connect the wires. Save these wire nuts for later use.
- The 3-pronged power cord is not needed for outdoor installation.
Step 4: Turning off the Breaker
- Turn off the breaker, controlling the power to the junction box where the camera will be installed.
Step 5: Mounting Plate Installation
- Attach the provided junction box mounting plate to the junction box. Ensure the concave side of the mounting plate faces outward.
Step 6: Hanging the Camera
- Utilize the hook provided in the Eufy Floodlight Camera kit to hang the camera unit. This will allow you to work with the wires more easily.
Step 7: Wiring Connections
- Connect the ground wire from the junction box to the camera’s ground wire using one of the saved wire nuts. The ground wire is typically yellow or green. If your junction box lacks these colors, connect the camera’s ground wire directly to the metal junction box or mounting plate.
- Use another wire nut to join the white neutral wire from the junction box to the white neutral wire on the camera.
- Employ the last wire nut to connect the black wire from the junction box to the black wire on the camera.
Step 8: Screw Installation
- Insert the long screw through the screw hole in the central part of the floodlight unit. Cover the screw with the provided screw cap.
Step 9: Power Restoration
- Turn the power back on at the fuse box or breaker box. Exercise caution during this step to avoid contact with live wires.
Step 10: Status LED Indication
- Wait for the camera’s status LED to either blink red or remain steady white. This indicates that the camera unit is receiving power and is ready for further setup.
Step 11: Connectivity
- Once the status LED blinks red or is steady white, the camera can be connected to your HomeBase or the Eufy Security App.
Important Note: If you have concerns about working with live electrical components, it’s strongly recommended to consult a professional electrician for assistance. Your safety should always be a top priority when dealing with electrical installations.
Following these steps carefully, you can install your Eufy Floodlight Camera outdoors. Remember, if you’re not confident working with electrical wiring, seeking professional help is wise to ensure a safe and secure installation.
You Can Also Check Our Eufy Flood Light Camera Review
Tips for Getting The Most Out Of Your Eufy Floodlight Cam
Here are a few tips for getting the most out of your Eufy Floodlight Cam:
- Keep the camera clean. The camera’s lens should be kept clean to ensure you get the best possible image quality.
- Use the motion detection feature. The Eufy Floodlight Cam has a motion detection feature that can send you alerts when there is movement in front of the camera.
- Use the two-way audio feature. The Eufy Floodlight Cam has a two-way audio feature that allows you to talk to people through the camera.
- Use the recording feature. The Eufy Floodlight Cam can be used to record video. This can be useful for catching criminals or for documenting events.
- Use the IFTTT integration. The Eufy Floodlight Cam can be integrated with IFTTT, which allows you to create custom automation. For example, you could make automation that turns floodlights on when the camera detects motion.
You May Also Like: How to Mount Arlo Camera Outside?
Does the Eufy floodlight work without Wi-Fi?
No, the Eufy Floodlight Camera requires a Wi-Fi connection to function properly. The Wi-Fi connection enables the camera to transmit live video feeds, receive alerts, and communicate with the Eufy Security app. Without a stable Wi-Fi connection, the camera’s remote monitoring, notifications, and other smart features will not be accessible.
Ways to connect the Eufy floodlight camera
To connect your Eufy Floodlight Camera, follow these steps:
- Download the Eufy Security App:
- Visit your device’s app store and download the Eufy Security app.
- Create an account or log in if you already have one.
- Prepare Camera and Power:
- Ensure the camera is properly installed and powered, either indoors or outdoors, following the respective setup guidelines.
- Make sure the camera’s status LED is blinking red or steady white, indicating it’s ready to connect.
- Adding a Device:
- Open the Eufy Security app and log in.
- Tap the ‘+’ icon or “Add Device” option to start adding your camera.
- Camera Selection:
- Choose the specific Eufy Floodlight Camera model from the list of available devices.
- Connecting to WiFi:
- Follow the prompts to connect the camera to your WiFi network.
- Make sure your phone or tablet is connected to the same WiFi network you want the camera to be on.
- Scan the QR Code (if applicable):
- Some Eufy cameras might require scanning a QR code on the camera or its packaging. Follow the app’s instructions for this step.
- Camera Setup:
- Customize settings such as camera name, motion detection sensitivity, and notifications according to your preferences.
- HomeBase Integration (if applicable):
- If you have a Eufy HomeBase, follow the app’s instructions to integrate the camera with it.
- Completing Setup:
- Once you’ve customized your settings, save your changes and complete the setup process.
- Testing and Monitoring:
- Access the live camera feed through the app to ensure everything functions correctly.
- Adjust the camera angle if needed for optimal coverage.
Frequently Asked Questions
Conclusion
Installing the Eufy Floodlight Cam is an easy and effective way to enhance the security of your property. By following the step-by-step guide and regularly maintaining the floodlight cam, you can ensure that it functions properly and provides you with the added security and peace of mind you need. The Eufy Floodlight Cam is a valuable addition to any home security system with its user-friendly features and easy installation process. By installing one or more around your property, you can have a reliable source of illumination and surveillance to protect your home and loved ones.