To install a Blink Outdoor Camera without screws, use adhesive strips or a no-drill mount. Mounting with adhesive provides a damage-free option suitable for renters or those avoiding wall alterations.
Setting up a home security system can be less invasive than many might think, especially with products like the Blink Outdoor Camera. The device’s flexibility allows homeowners and renters alike to secure their premises without making permanent changes to their property.
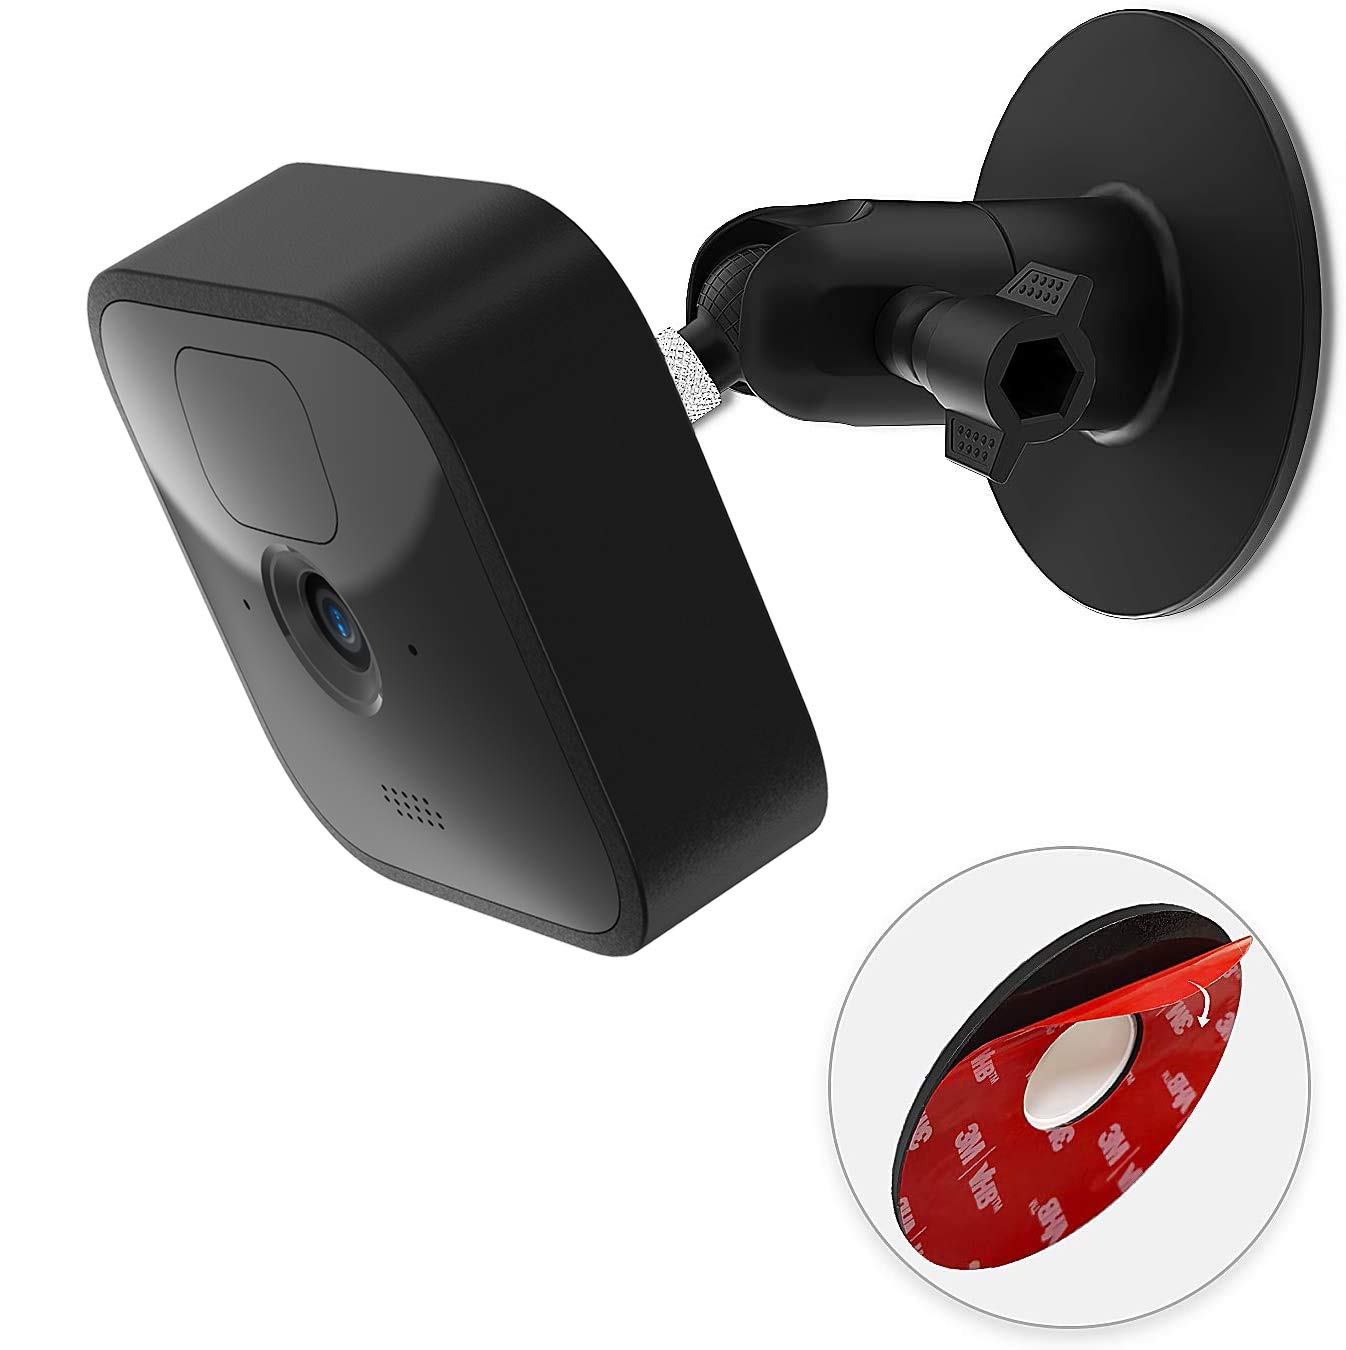
Adhesive mounting strips can support the camera securely, offering a straightforward, tool-free installation process. Opting for a no-drill mount is another practical solution, ensuring that the camera stays in place without the need for drilling. These methods not only maintain the integrity of wall surfaces but also offer quick and easy relocation of security cameras as needed. Ideal for DIY enthusiasts, this approach to installing your Blink Outdoor Camera ensures that safety and convenience go hand-in-hand.
Choosing The Right Mounting Location
Installing your Blink Outdoor Camera can be a smooth process, especially when opting for a no-screw setup. The paramount step is selecting an optimal location for mounting. This critical decision influences camera performance, coverage, and overall security effectiveness. Focusing on the right spot ensures maximum surveillance benefits without altering your home’s aesthetic or integrity with drills and screws.
Considerations For Camera Angle And Field Of View
The optimal camera angle and field of view are essential to capture the widest and most critical area. Consider the following to optimize your camera’s effectiveness:
- Height: Mounting the camera at least 8-10 feet off the ground avoids easy tampering and provides a broad vantage point.
- Tilting: The camera should be tilted downward to capture faces and not just the tops of heads.
- Obstructions: Ensure no obstructions like tree branches or decor can block the camera’s line of sight.
Assessing Surfaces For Adhesive Mounting
Adhesive mounts are an excellent alternative to drilling, but their effectiveness depends on the right surface:
- Material: Smooth, solid surfaces such as treated wood, vinyl siding, or metal are ideal.
- Cleanliness: The surface must be clean and dry for the adhesive to stick properly.
- Temperature: Adhesives may weaken in extreme temperatures, so consider an area sheltered from weather extremes.
Potential Concealment Spots Without Drilling
Concealment is crucial for security and to maintain your home’s appeal. Some no-drill hideaway ideas include:
- Under eaves or awnings for weather protection and discretion.
- Within foliage, ensuring leaves do not obstruct the lens.
- Behind existing outdoor decor that doesn’t compromise the field of view.
Each of these spots can offer a strategic vantage point while keeping your camera inconspicuous and maintaining your home’s design integrity.
Preparing To Install Blink Camera
Setting up your Blink outdoor camera is a streamlined process designed for convenience and ease of use. However, before proceeding with the non-invasive, no-drill installation, a few preparatory steps are essential to ensure that your camera operates effectively and delivers optimal surveillance coverage. Let’s dive into the preparatory phase, emphasizing the importance of a clean installation surface, the assembly of tools and materials, and the utilization of the Blink mobile application for camera setup.
Cleaning The Installation Surface Thoroughly
A pristine surface is critical for a secure and stable camera install. Begin by selecting a smooth, flat area that provides an unobstructed view of the intended surveillance zone. Use the following steps to prepare the surface:
- Wipe the area with a clean, dry cloth to remove dust and debris.
- Follow up with a damp cloth or an alcohol wipe to ensure a grease-free surface.
- Allow the surface to dry completely before proceeding further.
Gathering Necessary Installation Tools And Materials
To mount your Blink Outdoor Camera without drilling, ensure that you have all the necessary tools and materials on hand. Here are the items you’ll need:
| Tools | Materials |
|---|---|
| Level | Adhesive strips or tape |
| Measuring tape | No-drill mounting bracket |
| Soft pencil | Camera security mount (if required) |
Prepare these items beforehand to ensure a seamless installation process.
Checking The Blink Mobile Application For Camera Setup
Lastly, your mobile device plays a vital role in the setup process. Ensure you have the Blink mobile application installed, and follow these steps:
- Open the application and sign in or create a new account.
- Navigate to the ‘Add Device’ section and select your Blink Outdoor Camera model.
- Follow the on-screen instructions to sync your camera with the application.
This will allow for a hassle-free integration with your home security network, offering live monitoring and customizable settings at your fingertips.
Weather Considerations For Outdoor Cameras
Installing a Blink Outdoor Camera without screws requires thoughtful planning, especially when considering the weather elements it will face. The longevity and performance of your camera can be greatly affected by local weather conditions. To ensure optimal functionality, the choice of installation method and materials becomes critical. Let’s explore how you can secure your camera safely against the whims of nature.
Selecting Weather-resistant Adhesive Options
Securing your Blink Outdoor Camera in place without the use of screws calls for a reliable adhesive that can handle the outdoor environment. When choosing an adhesive:
- Opt for adhesives designed specifically for outdoor use, with resistance to water and UV rays.
- Check the temperature range the adhesive can withstand, ensuring it matches your local climate.
- Consider the material of your mounting surface, as some adhesives bond better to certain surfaces over others.
- Allow ample drying time before attaching the camera to ensure a firm hold.
Safety Measures For Extreme Temperature Fluctuations
Extreme temperatures, both hot and cold, can compromise the adhesion of your Blink Outdoor Camera and damage its components.
| Temperature Range | Precautionary Measures |
|---|---|
| High Temperatures |
|
| Low Temperatures |
|
In areas prone to temperature extremes, regularly inspect your camera’s placement to ensure the adhesive maintains its integrity. A seasonal check promotes lasting camera security and performance.
No-drill Mounting Kits
Embarking on a journey of securing your home with a Blink Outdoor Camera does not necessarily mean drilling holes into your walls. No-Drill Mounting Kits have become a game-changer, offering a simplified and less intrusive installation process. Perfect for renters or homeowners who prefer not to alter their property, these innovative kits ensure your Blink cameras remain securely in place without the need for screws.
Exploring Third-party No-drill Mounting Options
Beyond manufacturer-provided options, a plethora of third-party no-drill mounting solutions can be found in the market. These alternatives often come with features that make them highly attractive:
- Gutter Mounts: Clamps to your gutter and offer a high vantage point.
- Suction Cup Mounts: Adheres to windows or smooth surfaces, perfect for indoor/outdoor versatility.
- Strap Mounts: Wraps around poles or trees for an easy, secure fit.
Each type of third-party mount provides a unique form of versatility and ease of positioning. Browse the market and select the one that aligns with your installation preferences and security needs.
Understanding The Compatibility Of Mount Kits With Blink Cameras
It’s crucial to assess the compatibility of no-drill mount kits with your Blink camera model. Factors to consider:
- The weight capacity of the mount should accommodate your Blink camera.
- Check if the mount’s attachment mechanism fits the camera’s base.
- Ensure that the material and build quality of the mount can withstand outdoor conditions without compromising the camera’s functionality.
For a quick compatibility check, review the product descriptions and customer feedback for insight into the mount’s performance with Blink cameras. This will help you pick a mount that not only holds the camera securely but also ensures the optimal functioning of your home surveillance system.
Camera Angle And Position Adjustments
When it comes to optimizing your home security, the placement of your Blink Outdoor Camera is just as crucial as the installation itself. Without using screws, adjusting the camera angle and position might seem challenging at first. However, innovative mounting solutions and strategic positioning can ensure that you not only cover the desired viewing area but also maintain camera stability throughout various weather conditions.
Adjusting Camera Views With Flexible Mounts
Finding the perfect angle for your Blink Outdoor Camera becomes a breeze with flexible mounts. These mounts allow for a wide range of motion, enabling you to:
- Rotate the camera to capture a broad viewing area.
- Tilt the lens upwards or downwards to monitor specific zones like entries or gardens.
- Pivot the camera side to side for corner-to-corner coverage.
- Place the camera at a high vantage point, avoiding obstructions.
- Use the Blink app’s live view feature to test different angles in real time.
- Secure the mount on a flat and stable surface without drilling, using adhesive strips or suction methods tailored for home exteriors.
Maintaining Stable Positioning In Different Weather Conditions
To ensure your Blink Outdoor Camera remains stable in diverse weather conditions, it’s important to select the right location and mounting solution:
| Weather Condition | Mounting Tips |
|---|---|
| High Winds | Use mounts with a locking mechanism to grip the camera tightly. |
| Rain and Snow | Position the camera under eaves or protective covers and use water-resistant adhesive. |
| Extreme Temperatures | Opt for mounts made of materials that withstand temperature fluctuations without losing their hold. |
By considering these parameters, your Blink Outdoor Camera will deliver consistent performance and reliable surveillance, even in the face of nature’s unpredictability.
Securing Camera Against Theft Or Tampering
Securing your Blink Outdoor Camera against theft or tampering is a paramount concern for homeowners and businesses alike. While installing without screws may contribute to an easier and cleaner setup, it sometimes weakens the camera’s defense against potential thieves. Thankfully, there are methods to enhance the security of your Blink Outdoor Camera ensuring that it remains protected—even without the use of screws.
Anti-theft Lockboxes For Camera Protection
An effective strategy to safeguard your Blink Camera is the use of anti-theft lock boxes. These sturdy enclosures serve multiple purposes:
- Deterring theft with a solid, unbreakable structure.
- Protecting the camera from extreme weather conditions.
- Preventing unauthorized access or tampering.
Lockboxes come in various materials like hard plastic or metal and are designed to encase the camera snugly. Mounting these lockboxes can be done using alternatives to screws, such as adhesive strips, suction mounts, or cable ties, depending on the design and location.
Attachment Enhancements To Increase Security
To reinforce the security of a screwless Blink Camera setup, consider attachment enhancements. These not only stabilize the camera against accidental falls or bumps but also add an extra layer of difficulty for any would-be thief. Attachment options include:
| Attachment Type | Benefits | Installation Tips |
|---|---|---|
| Security Chains | Physically chains the camera to a fixed object, making removal difficult. | Ensure the chain cannot easily be cut or removed; loop it through secure fixtures. |
| Magnetic Mounts | Strong magnets provide a firm grip and enable quick repositioning. | Use with metal surfaces; keep away from sensitive electronics. |
| Security Tethers | Adds a layer of defense by attaching the camera to an anchor point. | Select a robust tether material and an inconspicuous yet immovable anchor point. |
Regardless of the type, ensure that these attachments are resistant to cutting or tampering and serve to both stabilize and secure the camera in its designated viewing area.
By combining anti-theft lockboxes with robust attachment enhancements, you can rest assured that your Blink Outdoor Camera will remain intact and in place, capturing clear, uninterrupted footage around the clock.
Final Steps In Blink Camera Setup
Completing the installation of your Blink Outdoor camera without screws is a task that feels rewarding. Securing your home has never been more straightforward. With your camera now adhered to the chosen spot, the final steps focus on ensuring that everything functions as expected, adjustments are made for optimal performance, and the device’s longevity is maintained.
Testing Camera Functionality Post-installation
Once your Blink Outdoor camera is in place, it’s essential to test its functionality. This is a crucial step to confirm that your installation is a success and your camera is ready to secure your space. To begin:
- Open the Blink app on your smartphone or tablet.
- Select the camera and tap on the Live View option to check the live feed.
- Ensure the camera covers the desired area and the image is clear.
- Test the motion detection feature by walking through the camera’s field of view to see if it captures and alerts you.
- Verify that the audio functions are working by checking the sound quality from the live feed.
If all these aspects are functioning well, your camera is all set to monitor your outdoor space.
Making Fine-tuning Adjustments Using The Blink App
After testing, you might find the need for some fine-tuning adjustments to optimize the performance of your Blink Outdoor camera. The Blink app is a powerful tool for this purpose:
- Adjust the camera’s settings like video quality, motion zones, and recording length to match your specific needs.
- Customize alerts to receive notifications that are relevant to you, avoiding unnecessary disturbances.
- Use the activity zones feature to highlight or exclude areas within the camera’s field of view for motion detection.
Remember, the goal is to achieve the best balance between camera coverage and battery life.
Regular Maintenance Tips For Adhesive-mounted Blink Cameras
For an adhesive-mounted Blink camera, regular maintenance ensures its longevity and performance. Here are some tips:
| Maintenance Task | Description | Frequency |
|---|---|---|
| Clean the lens | Gently wipe the camera lens with a soft, clean cloth to maintain image clarity. | Monthly |
| Check the adhesive bond | Examine the strength of the adhesive mount and replace it if necessary. | Every 6 months |
| Battery replacement | Replace the batteries following the manufacturer’s guidelines or when notified by the app. | As needed |
| Firmware updates | Keep the camera’s firmware up to date through the Blink app for improved functionality. | As released |
By sticking to a regular maintenance routine, you ensure your Blink Outdoor camera remains reliable and effective at keeping your home safe, even without the permanent commitment of screws in your walls.
Frequently Asked Questions Of How To Install Blink Outdoor Camera Without Screws
Can I Mount Blink Cameras Without Drilling?
Absolutely. Blink cameras can be mounted using adhesive strips or mounts, eliminating the need for screws and drilling. This method is ideal for renters or temporary installation locations.
What Alternative Methods Exist For Camera Installation?
Other than screw-in mounts, magnetic mounts, suction cup mounts, and adhesive strips can be utilized for camera installation. These methods provide flexibility and are damage-free for surfaces.
Are Adhesive Mounts Reliable For Blink Cameras?
Yes, adhesive mounts can be highly reliable if applied correctly. Ensure the surface is clean and dry to maintain a stronghold. Follow the manufacturer’s instructions for optimal adherence.
How Do I Secure A Blink Camera Outdoors?
Secure your Blink outdoor camera by using weather-resistant mounts or cases. Additionally, consider strategic placement under eaves or similar sheltered areas to protect from the elements.
Conclusion
Installing your Blink Outdoor Camera without screws is straightforward and efficient. With adhesive strips or silicone mounts, your security setup remains both flexible and damage-free. Remember to choose the right spot for optimal coverage. Embrace this seamless approach and enhance your home’s safety effortlessly.
Ready to monitor with confidence? Get started now.