
Arlo video doorbells have become essential to secure our life. This can keep us safe from unaccounted danger. But it can work our way if you only can install the Arlo video doorbell correctly. Installing the Arlo Essential Wired Video Doorbell is fairly easy and can be done using the Arlo Secure App. Whether or not you have an existing doorbell or chime, the setup process remains largely the same and should take about 45 minutes to complete. Looking at the time may make you think it’s a long and hard process, but that’s the case. Installing Arlo video doorbells is the easiest way to secure our life. I will explain the steps as easily as possible, so learn more about it.
Here is How to Install Arlo Video Doorbell
Arlo video doorbell is taking over the country with digital features to make our life safe and secure. But to take full advantage of it, you need to do the Arlo video doorbell installation process correctly. Apparently, there are two types of Arlo doorbells. Wired and without wired. Today, we wanna tell both the methods to it. So, let’s not waste any more time getting into the real business:
Wired doorbell Installation
Things You Will Need
- Box contents and box notes attentively.
- App for Arlo Secure
- Screwdrivers
- An electric drill is optional
- Voltage: 16-24V AC, 10VA doorbell transformer
The Installations
Step 1
Locate your house’s chime box. An entryway or hallway is a common location for it. If you’re struggling to find the bell, just ring the doorbell, and follow the sound of the chime box until you find it.
Step 2
Make sure that the breaker is turned off. Make sure the chime box and doorbell are not powered. The power is off if there is no sound.
Step 3
Open the chime box and remove the cover.
Step 4
The Power Kit wires must be connected to the chime box terminals. Chime boxes are set up differently in different homes. Using the Arlo app, configure the Power Kit wires. Don’t forget to reconnect the existing wires.
Step 5
The Power Kit should be placed in or around the chime box where it will be used. If you want to find the best location to put the Power Kit, use the Arlo app to help you.
Step 6
Take a look at the doorbell and replace the cover of the chime box.
Step 7
Remove your existing doorbell from the wall and disconnect the wires. Depending on your house, you may need to call an electrician. Tape the wires together and position them so they won’t get caught.
Step 8
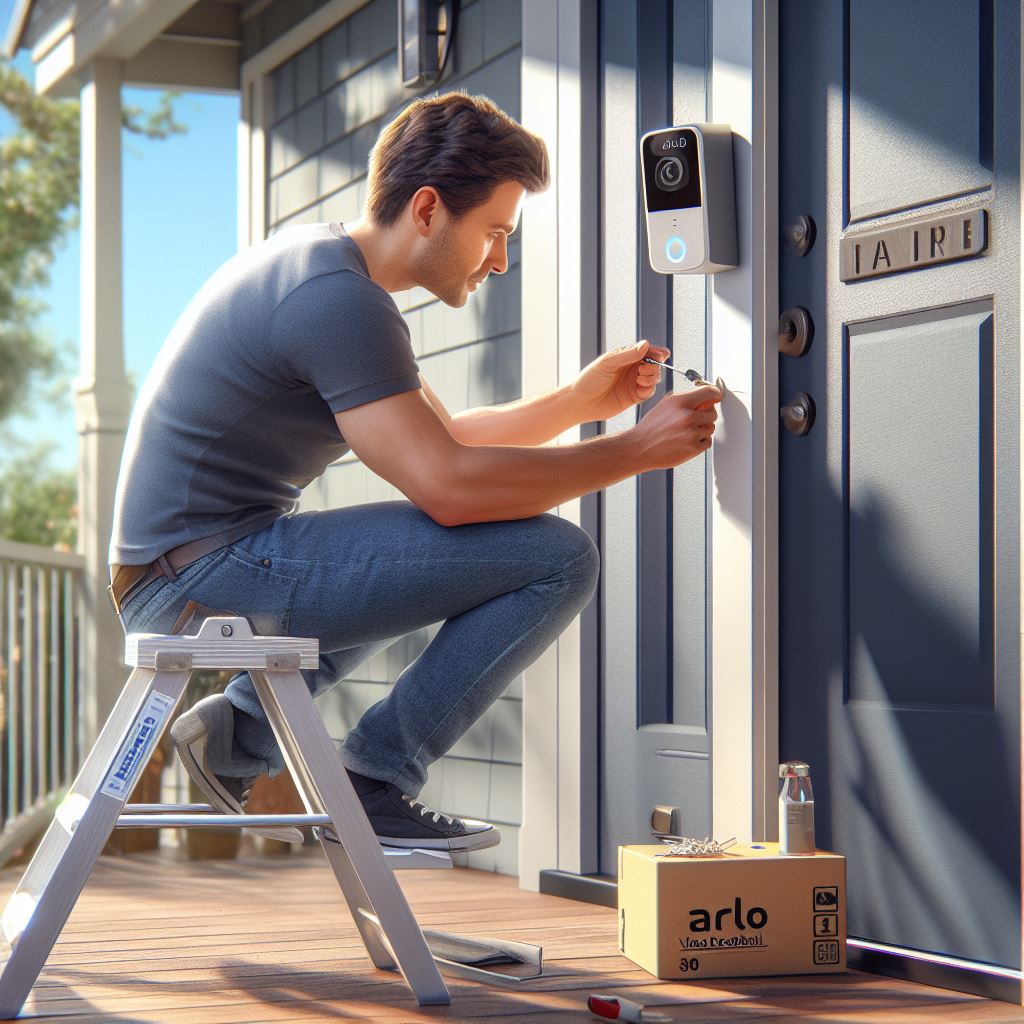
On the doorbell area, install the Arlo doorbell mounting bracket in conjunction with the Arlo doorbell. The screwdriver contents can be used to install the holes. Power drills are also possible but don’t offer as much control as screwdrivers. Mounting wedges can also be used to adjust the viewing angle of the doorbell.
Step 9
Connect the power and chime wires to the Arlo doorbell’s back once you have removed the tape from the wires. Two screws can be used to attach the wires.
Step 10
When attaching the video doorbell to the bracket, use an upward motion.
Step 11
You will need to return the power to the breaker once the power has been turned off. Arlo Doorbell LED should be checked. After a few minutes, if the LED doesn’t power on, check your wires. A yellow LED may indicate that the power is insufficient or the temperature is too low.
Step 12
Now You can connect your Arlo Doorbell with the Arlo android app or IOS app.
Step 13
Sync the app with the doorbell by pressing it. The app will guide you through the setup process once you have synced the devices. With this simple setup, you can enjoy Arlo doorbells.
Without Wired Installations
Step 1
You need to charge the battery that came with your Arlo Doorbell.
Step 2
Your phone must be connected to Wi-Fi.
Step 3
Connecting the doorbell to your Wi-Fi network is as easy as scanning the QR code that comes in the Arlo box.
Step 4
Arlo Doorbell can be mounted anywhere you like. Just find the right spot and mark it.
Step 5
Use the mounting contents provided in the package to mount your Arlo doorbell. The most likely tool you’ll need is a screwdriver or drill to make this installation happen. And tada! Your Arlo doorbell is ready to secure your life. Now you can open your door to whoever you want in your home; no one can just jump into your home unwantedly.
Frequently Asked Question
1. Which voltage level does my Arlo Essential Doorbell use?
In Europe, Arlo Essential Wired Video Doorbells include a doorbell transformer with a voltage between 16-24VAC.
2. What is the voltage of a doorbell transformer?
The voltage of a doorbell transformer is typically 8-24 volts. This type of transformer powers the chime mechanism, which alerts occupants when someone rings the doorbell. The transformer may also power the doorbell button and other components, such as cameras and lights. When installing an Arlo video doorbell, it is important to ensure that the transformer is compatible and can provide the required amount of power for the device.
3. Does the Arlo doorbell require wiring?
The Arlo video doorbell does not require any wiring to be installed. Instead, it uses a battery-powered system and can be easily mounted on any wall or door frame. This makes installation especially easy and convenient for renters or homeowners who don’t want to deal with the hassle of running electrical wires through their walls.
4. Do Arlo cameras work without WiFi?
No, Arlo cameras do not work without WiFi. In order to use an Arlo camera, you must connect it to a home WiFi network. Installing an Arlo video doorbell requires that the doorbell be connected to the same home WiFi network as your other Arlo devices.
5. How long does the Arlo doorbell battery last?
The Arlo Video Doorbell is powered by a rechargeable battery and can last up to six months on a single charge. The doorbell will provide alerts when the battery level is low, so you’ll know when it’s time to recharge. To maximize the battery’s life, it’s recommended that you turn off all motion detection features while the doorbell is not in use.
Conclusion
The Arlo video doorbell is a great device for securing your home and keeping you connected. It’s easy to set up, and the battery can last up to six months on a single charge. With its motion detection features, you’ll know when someone is at your door without being physically present. Whether you’re looking for a wired or wireless installation, the Arlo video doorbell can provide the security you need with the convenience of modern technology.
It was helpful